.png)
.png)
CHANGE YOUR GOLF GRIPS - 5 SIMPLE STEPS
GUIDE: How Easily You Can Change the Grips on Your Golf Clubs
.png)
BEFORE YOU BEGIN
WHAT YOU NEED TO CHANGE YOUR GRIPS
✔ Sharp knife. For example, a utility knife (preferably with a hook blade)
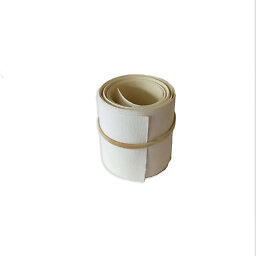
✔ Grip tape
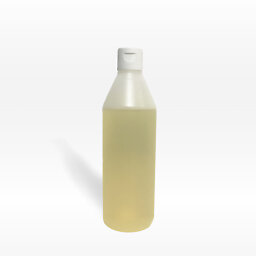
✔ Grip solution or lighter fluid
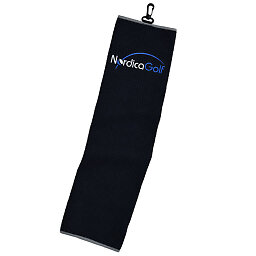
✔ Towel
Tools that make the process easier:
Collection tray, Torch/heat gun (a hair dryer works too), Vice + rubber clamp
CHANGE YOUR GRIPS
HOW TO DO IT STEP BY STEP
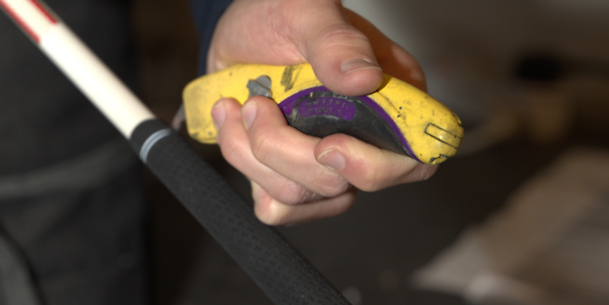
STEP 1
REMOVE THE OLD GRIPS
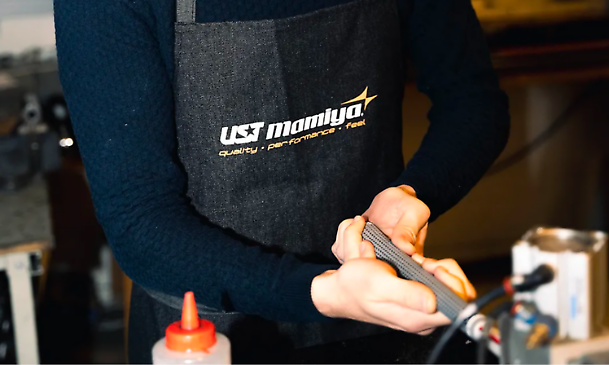
Use a sharp knife to cut off the old grips. A regular utility knife works well, but we recommend using a knife with a so-called "hook blade." This type of knife makes it easier to cut off the grip without risking injury or damaging the shaft, as it allows you to cut with better control.
NOTE! Always cut with a motion away from your body, never towards yourself.
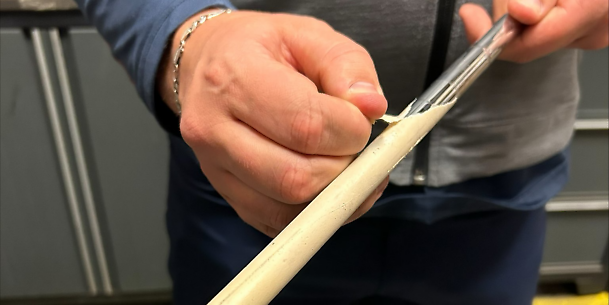
STEP 2
REMOVE THE OLD GRIP TAPE
Removing the old grip tape can be done in several ways, depending on how long the tape has been in place.
Option 1: If the tape is relatively new, you can easily peel it off with your fingers.
Option 2: For tape that is more stubborn, you can use a knife to cut it off. This option is effective and relatively quick. However, be careful if you're working with a graphite shaft, as it's easy to damage the shaft.
Option 3: If the tape is old and difficult to remove, you can use a torch, heat gun, or hair dryer. By heating the tape, it will loosen more easily, allowing you to peel it off without much trouble.
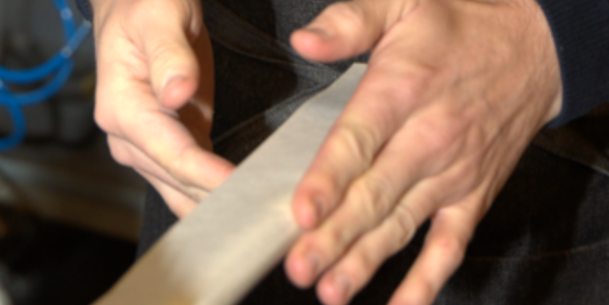
STEP 3
APPLY NEW GRIP TAPE
When applying the new grip tape, it’s important to use enough tape. Choose a length that is about 3 cm longer than your golf grip. Then hold the grip against the shaft to see where the tape should start. First, attach one side of the tape, and then make sure to apply the tape evenly around the entire shaft. Avoid creating any folds in the tape. Once done, you should have about 3 cm of tape sticking out above the shaft. Twist this into a small knot and press it into the shaft. This is important as it makes it easier for the grip to slide onto the shaft after you’ve applied the grip solution.
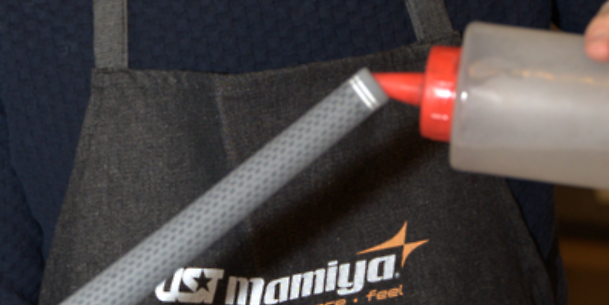
STEP 4
APPLY GRIP SOLUTION
The key to successfully regripping your clubs is to use enough grip solution. Make sure to use a little more than you think is needed, as this will make the grip slide on much easier.
Start by soaking the grip tape with the grip solution or lighter fluid. Then, pour some solution inside the grip and shake it around (remember to cover both ends of the grip). Pour the grip solution from the grip over the grip tape, and then slide the grip onto the shaft.
STEP 5
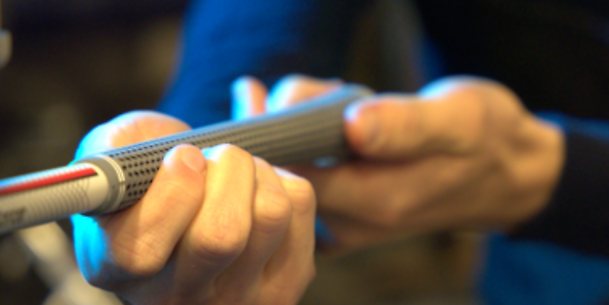
INSTALL THE GRIP
To slide the grip on as easily as possible, it’s good to hold it between your thumb and index finger. Once you’ve positioned the edge of the grip over the shaft, use your body weight to push the grip on in a controlled manner. Make sure to always move your hands toward the top of the shaft/grip as you adjust your grip. This reduces the risk of stretching the grip. When it seems like the entire grip is in place, check by pressing your palm against the "butt" of the club.
Changing grips is easier than you might think, right? We find it both satisfying and fun to play with clubs whose grips we've changed ourselves. Taking the time to do this can be a little pleasure in itself. It’s the perfect weekend activity, where you can brew a cup of coffee, put on the weekend's golf tournament on your phone, and change grips in peace and quiet. Maybe you feel the same way?
We hope this guide has shown you how easy it is to change the grips on your clubs by yourself. If you're still unsure which grip to choose, we recommend checking out our guide on how to choose the right grip.
And remember, when you order grips from us at NordicaGolf, grip tape is always included! If you also need tools and solution, we of course have those as well!